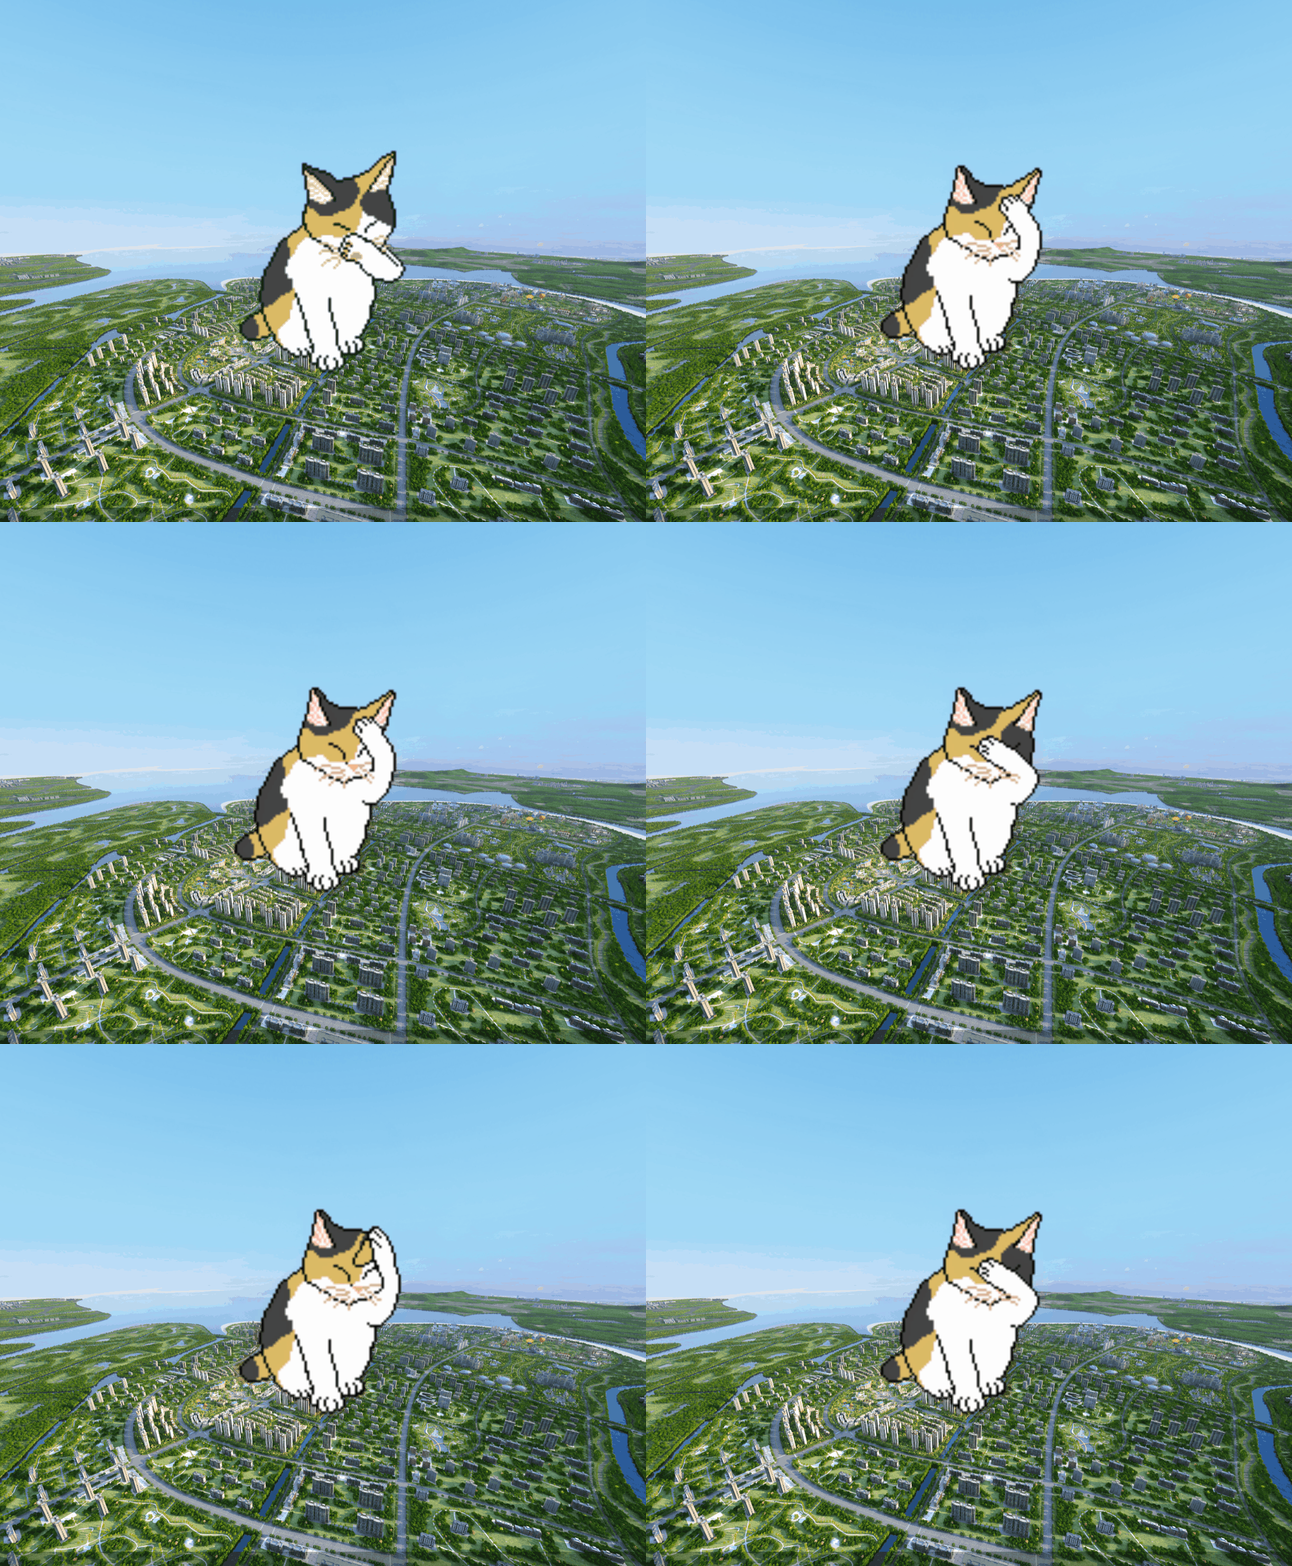
在网页上实现帧动画,你肯定想到了gif,但是项目大了性能不好,今天讲一种使用雪碧图实现的帧动画,实现方式巧妙,值得学习。
开新坑了,krpano一款强大的vr引擎,直接能跑在网页上!
雪碧图CSS Sprites 不知道是啥的请看:前端性能优化-雪碧图及其实现 - 简书 (jianshu.com)
图片是一张有全部帧的大图,每个帧都切割出来的,如何播放呢?只需要有一个视口,这个视口是一帧的宽高,然后调整图片位置,来实现每一帧的播放。
![active image]()
这就是一张雪碧图,这张图是一行一帧,一共6行也就是6帧的动画,这个很重要!
思路
既然想让图片位置动起来,并且不停的播放,首先想到的就是开定时器然后改变位置。
对于这种一行一帧(竖着排)的雪碧图,列永远是第0列,行(i)就要一次轮换,也就是i%6。
写法大概是
1
2
3
4
5
6
7
8
9
10
11
12
| const rate = 6;
const total = 6;
const frameWidth = 89;
const frameHeight = 103;
let i,j = [0, 0]
setInterval(()=>{
img.x = j * frameWidth;
img.y = (i % total) * frameHeight;
i++;
}, 1000 / rate)
|
但是对于一行多帧,有很多行的那种雪碧图怎么做呢?
更巧妙的做法是,算出所有帧数量,计算一行帧的数量,定义i保证在所有帧数量以内,然后按照公式
横坐标 = 当前帧 % x轴帧数量
纵坐标 = 当前帧 / x轴帧数量
理解不了的话,可以转换成二维数组那样去理解,你会发现这就是遍历二维数组的方法。
ps:二维数组[纵坐标][横坐标]
这样,能保证无论怎么排列都能播放。
实现
下面看在krpano的实现
1
2
3
4
5
6
7
8
9
10
11
12
13
14
15
16
17
18
19
20
21
22
23
24
25
26
27
28
29
30
31
32
33
34
35
36
37
38
39
40
41
42
43
44
45
46
47
|
<action name="do_crop_animation" scope="local" args="framewidth, frameheight, framerate">
calc(local.xframes, (caller.imagewidth /framewidth) XOR 0);
calc(local.frames, xframes * ((caller.imageheight / frameheight) XOR 0));
def(local.frame, integer, 0);
calc(caller.crop, '0|0|' + framewidth + '|' + frameheight);
setinterval(calc('crop_anim_' + caller.name), calc(1.0 / framerate),
if(caller.loaded,
inc(frame);
if(frame GE frames, if(caller.onlastframe !== null, callwith(caller, onlastframe() ) ); set(frame,0); );
mod(xpos, frame, xframes);
div(ypos, frame, xframes);
Math.floor(ypos);
mul(xpos, framewidth);
mul(ypos, frameheight);
calc(caller.crop, xpos + '|' + ypos + '|' + framewidth + '|' + frameheight);
,
clearinterval(calc('crop_anim_' + caller.name));
);
);
</action>
<scene name="scene_1" title="项目全景" onstart="trace(1)" havevrimage="true" lat="" lng="" heading="">
<style name="hotspot_active"
onloaded="do_crop_animation(89,109, 6)"
ondown="move()"
url="%SWFPATH%/index/1/active.png" edge="bottom" oy="0"/>
<hotspot name="active"
title="cat"
style="hotspot_active"
atv="34.120" ath="18.393" scale="3"
visible="true" />
</scene>
|
最终实现效果:
![动画 image]()


