最近发现一个程序员挑战网站,有项目需求(算是题目),让你去实现出来,然后可以和站内网友分享,很有意思。挑了个短链接生成器做一下玩玩。
介绍
这个是刚才提到的网站:
ProjectLearn - Learn to Code by Creating Projects
其实这个只是个收集项目的网站,里面搜罗了各种关于实战类的项目。
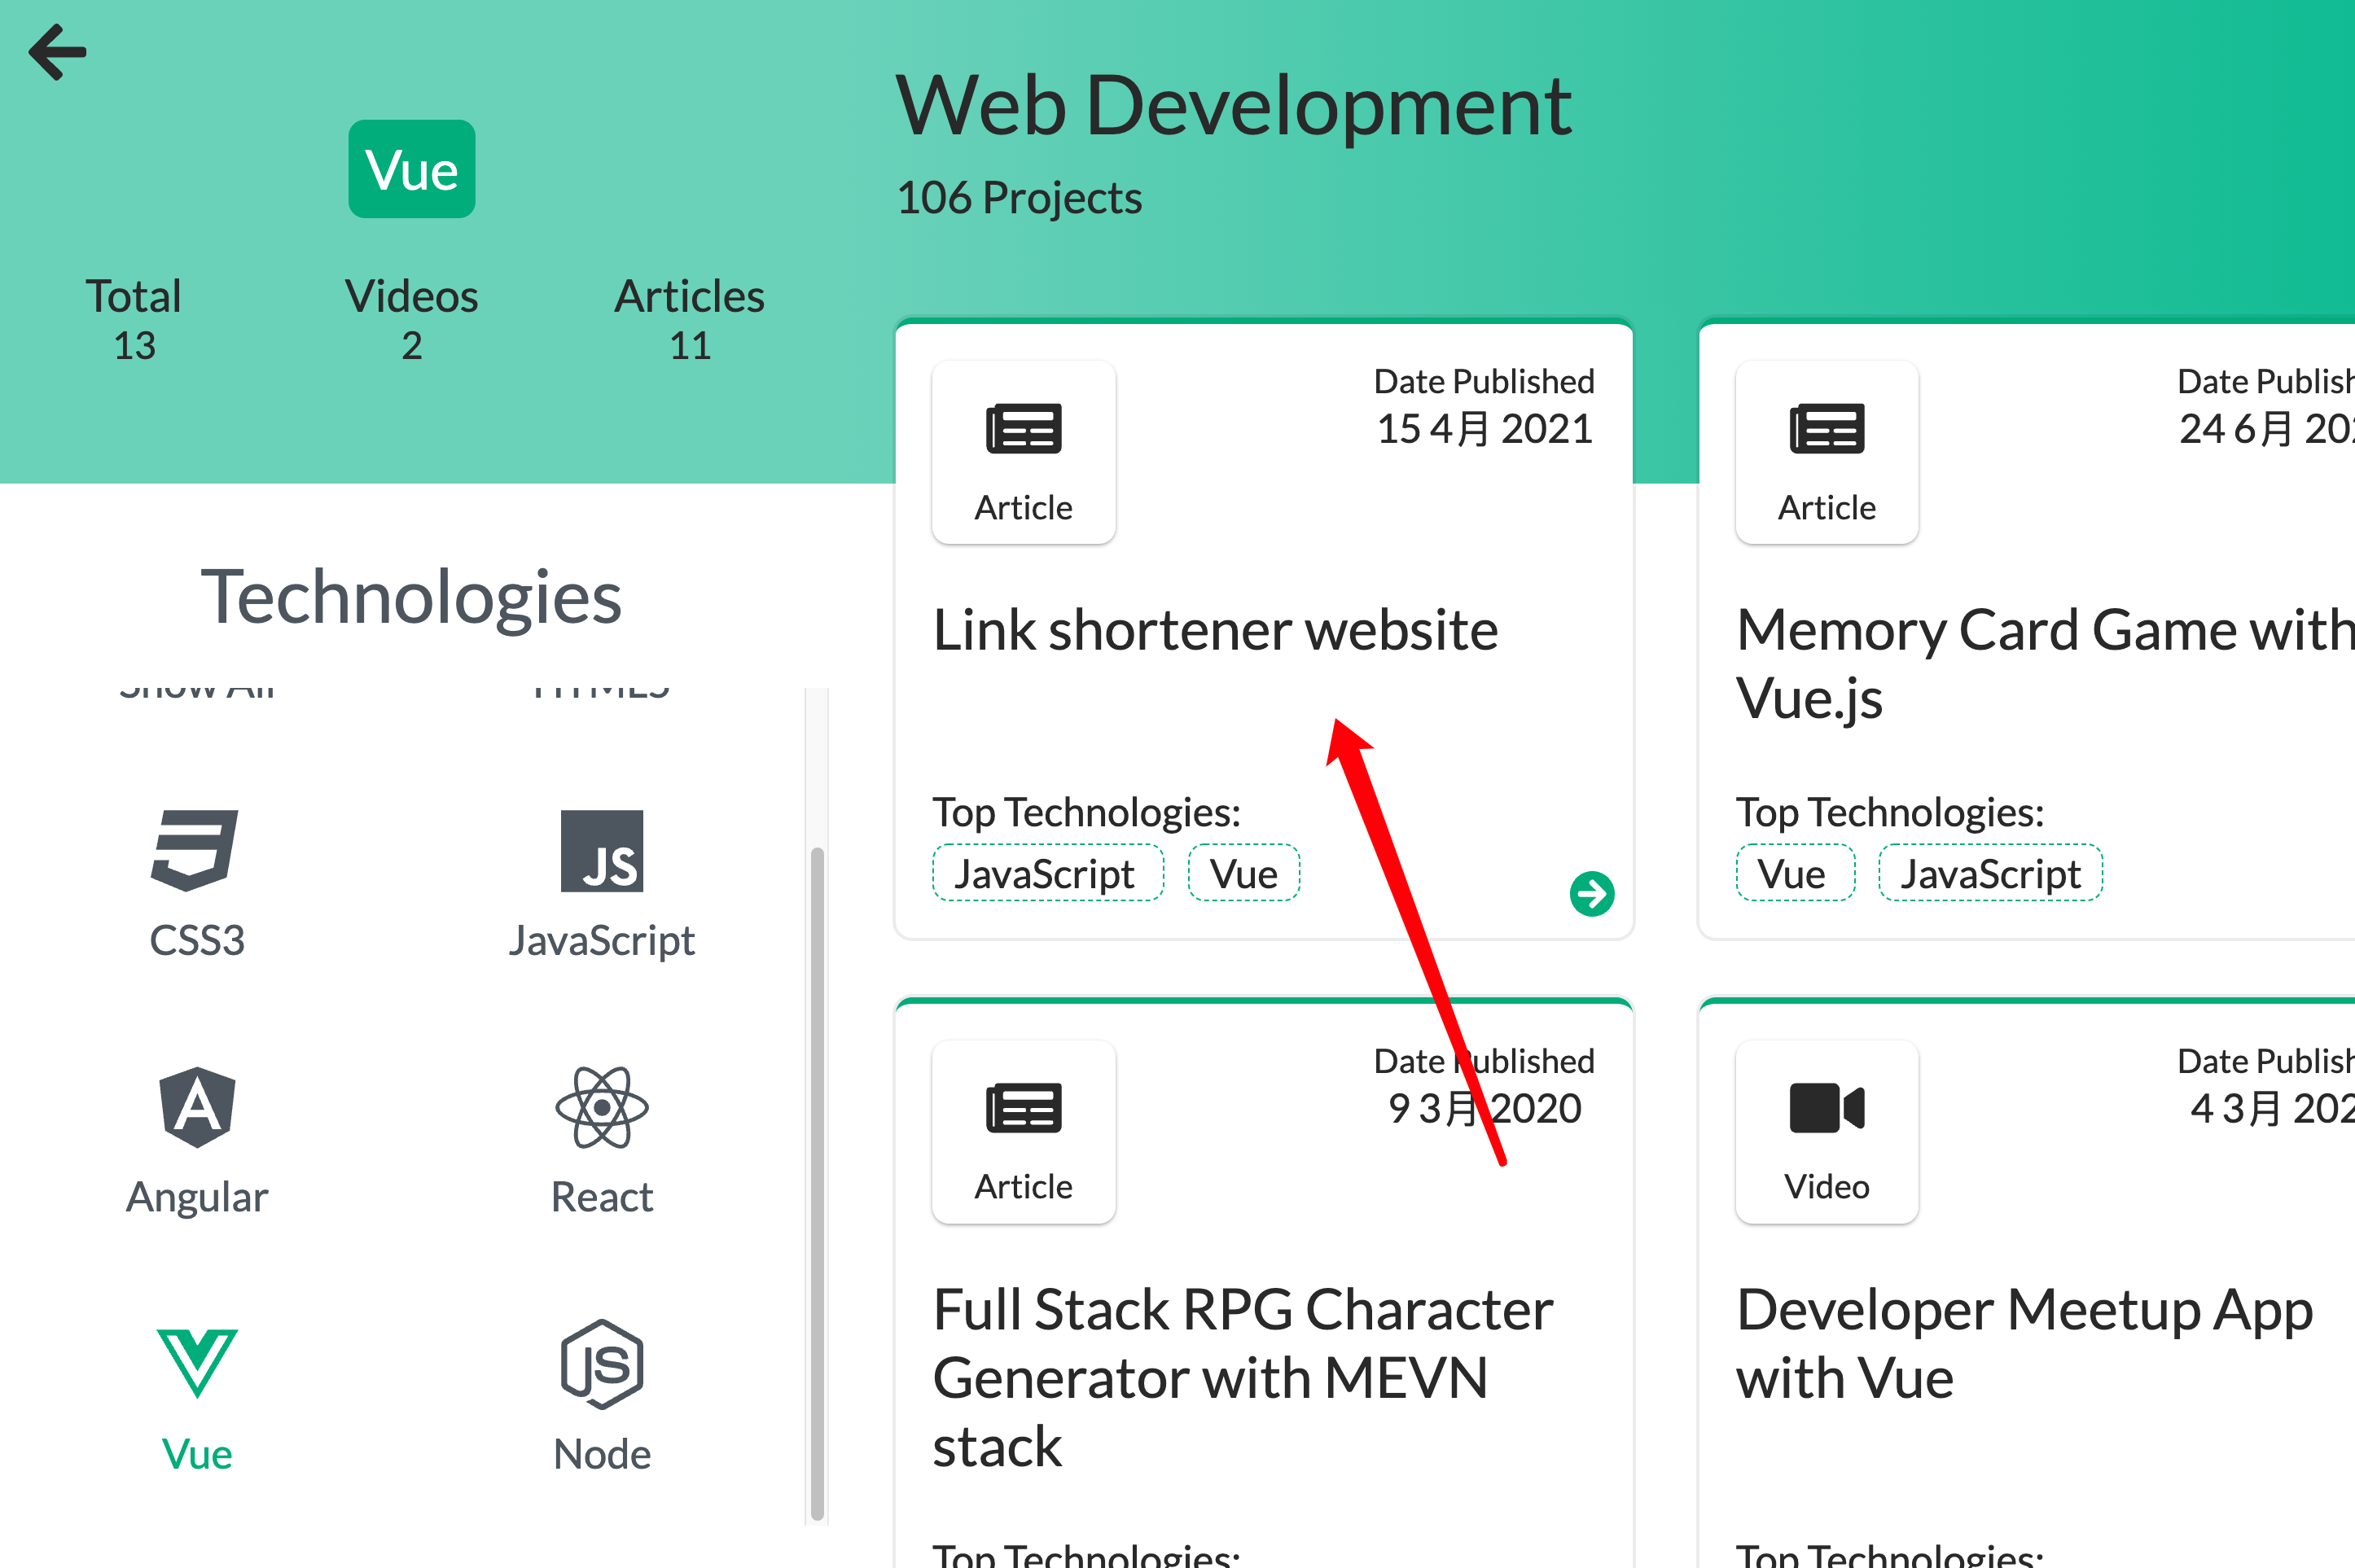
![image-20220901164334723 image]()
我做的是这个。
sunzehui’s solution to Link shortener website - DevProjects (codementor.io)
上面是我的项目地址,右上角按钮可以在线预览以及在Github中查看。
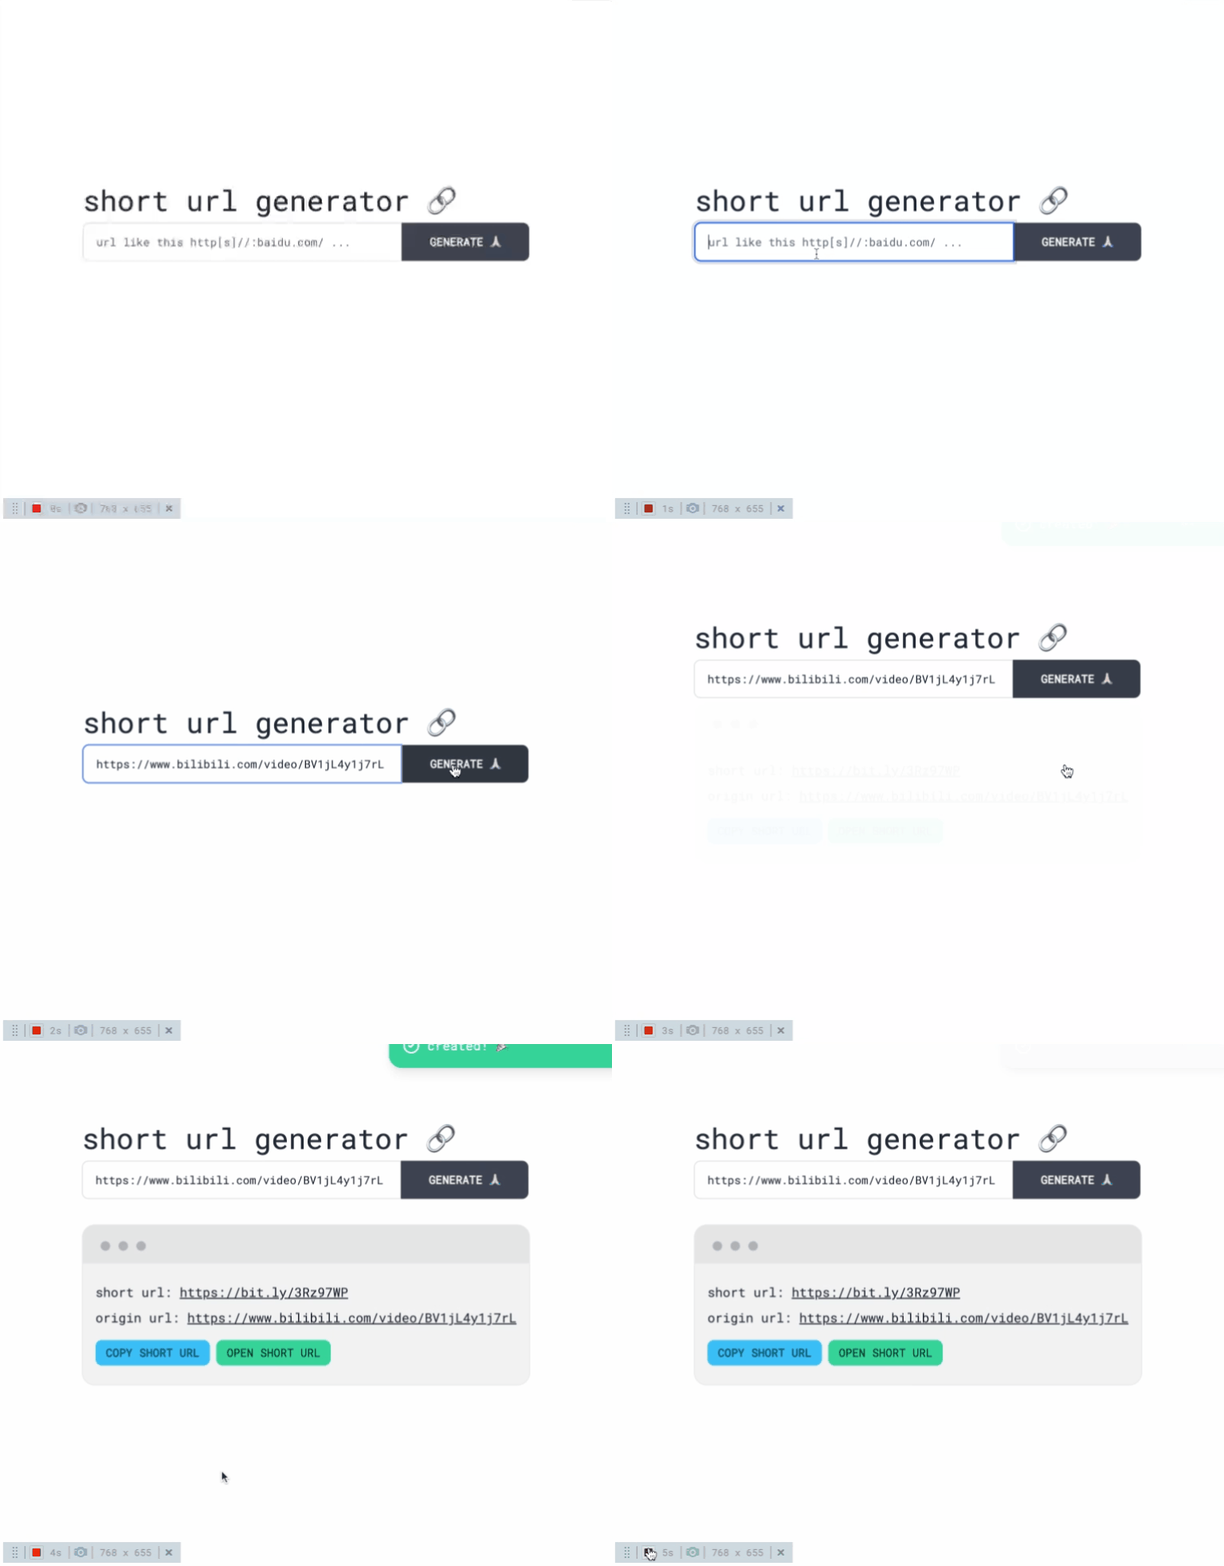
![CPT2209011702-768x655 image]()
自我感觉写的还行。(右上角被挡住的是切换主题)
实现
谈一下关键源码吧。
最近发现一款在线编辑器,老好用了,可以注册后一起看
只需要在Github项目前面输入gitpod.io/#,例如我的
Starting — Gitpod
因为项目很小只有一个页面,所以我只有App.vue
点击按钮后动画
点击按钮后,文本框和输入框上移,信息框淡入。
用按钮控制信息框显示,控制变量panelShow,用自带的transition组件添加淡入动画(修改透明度)。
CSS 为搜索框添加平移过渡。
1
2
3
4
5
6
7
8
9
10
11
12
13
14
15
16
17
18
19
20
21
22
23
24
25
|
<div class="container flex items-center justify-center">
  <div class="flex flex-col -translate-y-12 wrapper">
    <div
         class="transition-all duration-300"
         :class="{ 'set-top': panelShow, 'set-center': !panelShow }"
         >
      <按钮以及文本框 @click="panelShow = true"/>
    </div>
    <transition name="content">
      <信息框 v-if="panelShow"/>
    </transition>
  </div>
</div>

<style>
/* 点击按钮后搜索框上移 */
.set-top {
  @apply -translate-y-8;
}
/* 未搜索时搜索框至于中间 */
.set-center {
  @apply translate-y-0;
}
</style>
|
封装request
这么小的程序没必要封装其实,我用compositionAPI稍微写了写(参考了AttoJS@useRequest)。
1
2
3
4
5
6
7
8
9
10
11
12
13
|
const longUrl = ref("");
const { showMessage } = useMessage();
const { execute, loading, response } = useServerApi<ShortResponse>(longUrl, {
onSuccess(data) {
if (data.status >= 200 && data.status <= 200) {
showMessage(MType.SUCCESS, "created! 🎉");
}
},
onError(error) {
showMessage(MType.ERROR, error.message || "error! please retry! 😪");
},
});
|
下面是实现:
1
2
3
4
5
6
7
8
9
10
11
12
13
14
15
16
17
18
19
20
21
22
23
24
25
26
27
28
29
30
31
32
33
34
35
36
37
38
39
40
41
42
43
44
45
46
47
|
import axios, { type AxiosResponse } from "axios";
import { shortUrlToken } from "@/config";
import type { MaybeRef } from "@vueuse/core";
export function useServerApi<T>(
long_url: MaybeRef<string>,
options?: ServerApiOptions
) {
const response = ref<T>();
const loading = ref(false);
const execute = async () => {
loading.value = true;
let result = null;
try {
result = await axios.post<T>(
"https://api-ssl.bitly.com/v4/shorten",
{
domain: "bit.ly",
long_url: unref(long_url),
},
{
headers: {
Authorization: `Bearer ${shortUrlToken}`,
},
}
);
response.value = result.data;
options?.onSuccess(result);
return result;
} catch (error) {
options?.onError(error);
throw error;
} finally {
loading.value = false;
}
};
return {
execute,
loading,
response,
};
}
|
展示消息框
上面请求处理函数中的代码有用到useMessage这个composable,这个参考了elementUI的方式,不过我这里用了闭包保证只创建一个消息框,修改信息共用一个组件。
1
2
3
4
5
6
7
8
9
10
11
12
13
14
15
16
17
18
19
20
21
22
23
24
25
26
27
28
29
30
| import message from "@/components/message.vue";
import type { MType } from "@/types/message";
import { createApp } from "vue";
export function useMessage() {
const messageComponent = createApp(message);
const fragment = document.createDocumentFragment();
const vm = messageComponent.mount(fragment as any);
document.body.appendChild(fragment);
let timeId: null | number = null;
return {
showMessage(type: MType, content: string, time = 2000) {
if (timeId) clearTimeout(timeId);
vm.setState({
show: true,
content,
type,
});
timeId = setTimeout(() => vm.setState({ show: false }), time);
},
};
}
|
展示加载框
这个加载框不是动画,是我手动模拟的卡片翻转,用true/false轮番交替。具体看daisyUI上面的swap吧。
Swap — Tailwind CSS Components (daisyui.com)
1
2
3
4
5
6
7
8
9
10
11
12
13
14
15
16
17
18
19
20
21
22
23
24
25
26
27
28
29
30
31
32
33
34
35
36
| <script lang="ts" setup>
const props = defineProps({
loading: {
type: Boolean,
default: false,
},
});
const status = ref(false);
let timeId: NodeJS.Timer | null = null;
watch(
() => props.loading,
(val) => {
if (val) {
timeId = setInterval(() => {
status.value = !status.value;
}, 1000);
} else {
if (timeId) clearInterval(timeId);
}
},
{ immediate: true }
);
onBeforeUnmount(() => {
if (timeId) clearInterval(timeId);
});
</script>
<template>
<label
v-show="props.loading"
class="fixed -translate-x-1/2 -translate-y-1/2 top-1/3 left-1/2 swap swap-flip text-9xl"
>
<input type="checkbox" hidden v-show="false" v-model="status" />
<div class="swap-on">😈</div>
<div class="swap-off">😇</div>
</label>
</template>
|
主题切换
这完全是daisyUI的功劳,刚开始用没注意,没想到写一次组件,竟然支持那么多的主题,而且还能自定义主题!
只要修改<html data-theme="dark">标签上的data-theme属性即可。
为了方便操作,官方推荐使用theme-change这个包
saadeghi/theme-change: Change CSS theme with toggle, buttons or select using CSS custom properties and localStorage (github.com)
用法非常简单,在页面加载后调用一下即可。
总结
水了几个commit,再水一篇博客,爽歪歪
下次还写!


