最近忙完了在线考试系统的程序编写+论文,准备部署上线,为了方便选用docker,为了更方便,把mysql, redis也统统装到docker,哈哈哈哈
编写dockerfile
首先你需要安装docker以及docker-compose。
在项目根目录新建docker-compose.yml,直接上我写的
1
2
3
4
5
6
7
8
9
10
11
12
13
14
15
16
17
18
19
20
21
22
23
24
25
26
27
28
29
30
31
32
33
34
35
36
37
38
39
40
41
42
43
44
45
46
47
48
49
50
51
52
53
54
55
56
57
58
59
| version: '3.0'
volumes:
app-volume: {}
services:
redis:
container_name: redis
image: daocloud.io/library/redis
restart: on-failure
deploy:
resources:
limits:
cpus: '0.50'
memory: 500M
volumes:
- ./src/config/redis.conf:/usr/local/etc/redis/redis.conf
command: redis-server /usr/local/etc/redis/redis.conf
mysql:
container_name: mysql
image: daocloud.io/library/mysql:5.7
restart: on-failure
environment:
- MYSQL_ROOT_PASSWORD=123456
volumes:
- ./src/config/sql:/docker-entrypoint-initdb.d/
- ./src/config/my.cnf:/etc/my.cnf
nginx:
container_name: nginx
image: daocloud.io/library/nginx:latest
restart: on-failure
ports:
- 3000:80
volumes:
- ./vhosts.conf:/etc/nginx/conf.d/default.conf
- app-volume:/usr/share/nginx/exam
server:
build: .
image: nest-server:v0.1
container_name: nest-server
restart: always
depends_on:
- mysql
- redis
- website
volumes:
- app-volume:/frontend-build/dist
|
上面用到的文件,分别展示mysql, nginx, dockerfile
mysql
1
2
| # src/config/sql/init.sql
CREATE DATABASE `exam` DEFAULT CHARACTER SET utf8mb4 COLLATE utf8mb4_unicode_ci;
|
1
2
3
4
5
6
|
[mysqld]
bind-address = 0.0.0.0
datadir = /usr/local/var/mysql
sql_mode = 'STRICT_TRANS_TABLES,NO_ZERO_IN_DATE,NO_ZERO_DATE,ERROR_FOR_DIVISION_BY_ZERO,NO_AUTO_CREATE_USER,NO_ENGINE_SUBSTITUTION'
|
nginx
1
2
3
4
5
6
7
8
9
10
11
12
13
14
15
16
17
18
19
20
21
22
23
24
25
26
27
28
29
30
31
32
|
server {
listen 80;
server_name localhost;
access_log /var/log/nginx/host.access.log main;
error_log /var/log/nginx/error.log error;
gzip on;
gzip_min_length 1k;
gzip_comp_level 9;
gzip_types text/plain application/javascript application/x-javascript text/css application/xml text/javascript application/x-httpd-php image/jpeg image/gif image/png;
gzip_vary on;
gzip_disable "MSIE [1-6]\.";
location ^~/api/ {
proxy_pass http://server:3000/;
proxy_redirect default;
}
location / {
root /usr/share/nginx/exam;
index index.html index.htm;
try_files $uri $uri/ /index.html;
}
error_page 500 502 503 504 /50x.html;
location = /50x.html {
root /usr/share/nginx/exam;
}
}
|
dockerfile
1
2
3
4
5
6
7
8
9
10
11
12
13
14
15
16
17
18
19
20
21
22
23
24
|
FROM node:lts-alpine
RUN sed -i "s/dl-cdn.alpinelinux.org/mirrors.aliyun.com/g" /etc/apk/repositories
RUN apk update && \
apk add --update git && \
apk add --update openssh
RUN yarn config set registry https://registry.npm.taobao.org/
WORKDIR /frontend-build
RUN git clone https://github.com/sunzehui/vue3-examination.git ./
RUN yarn
RUN node --max_old_space_size=2000 ./node_modules/vite/bin/vite.js build
RUN rm -rf ./node_modules
WORKDIR /backend-build
COPY . .
RUN yarn install --production
RUN yarn build
CMD yarn start:prod
|
在服务器上部署
服务器是Ubuntu,安装上docker以及docker-compose。
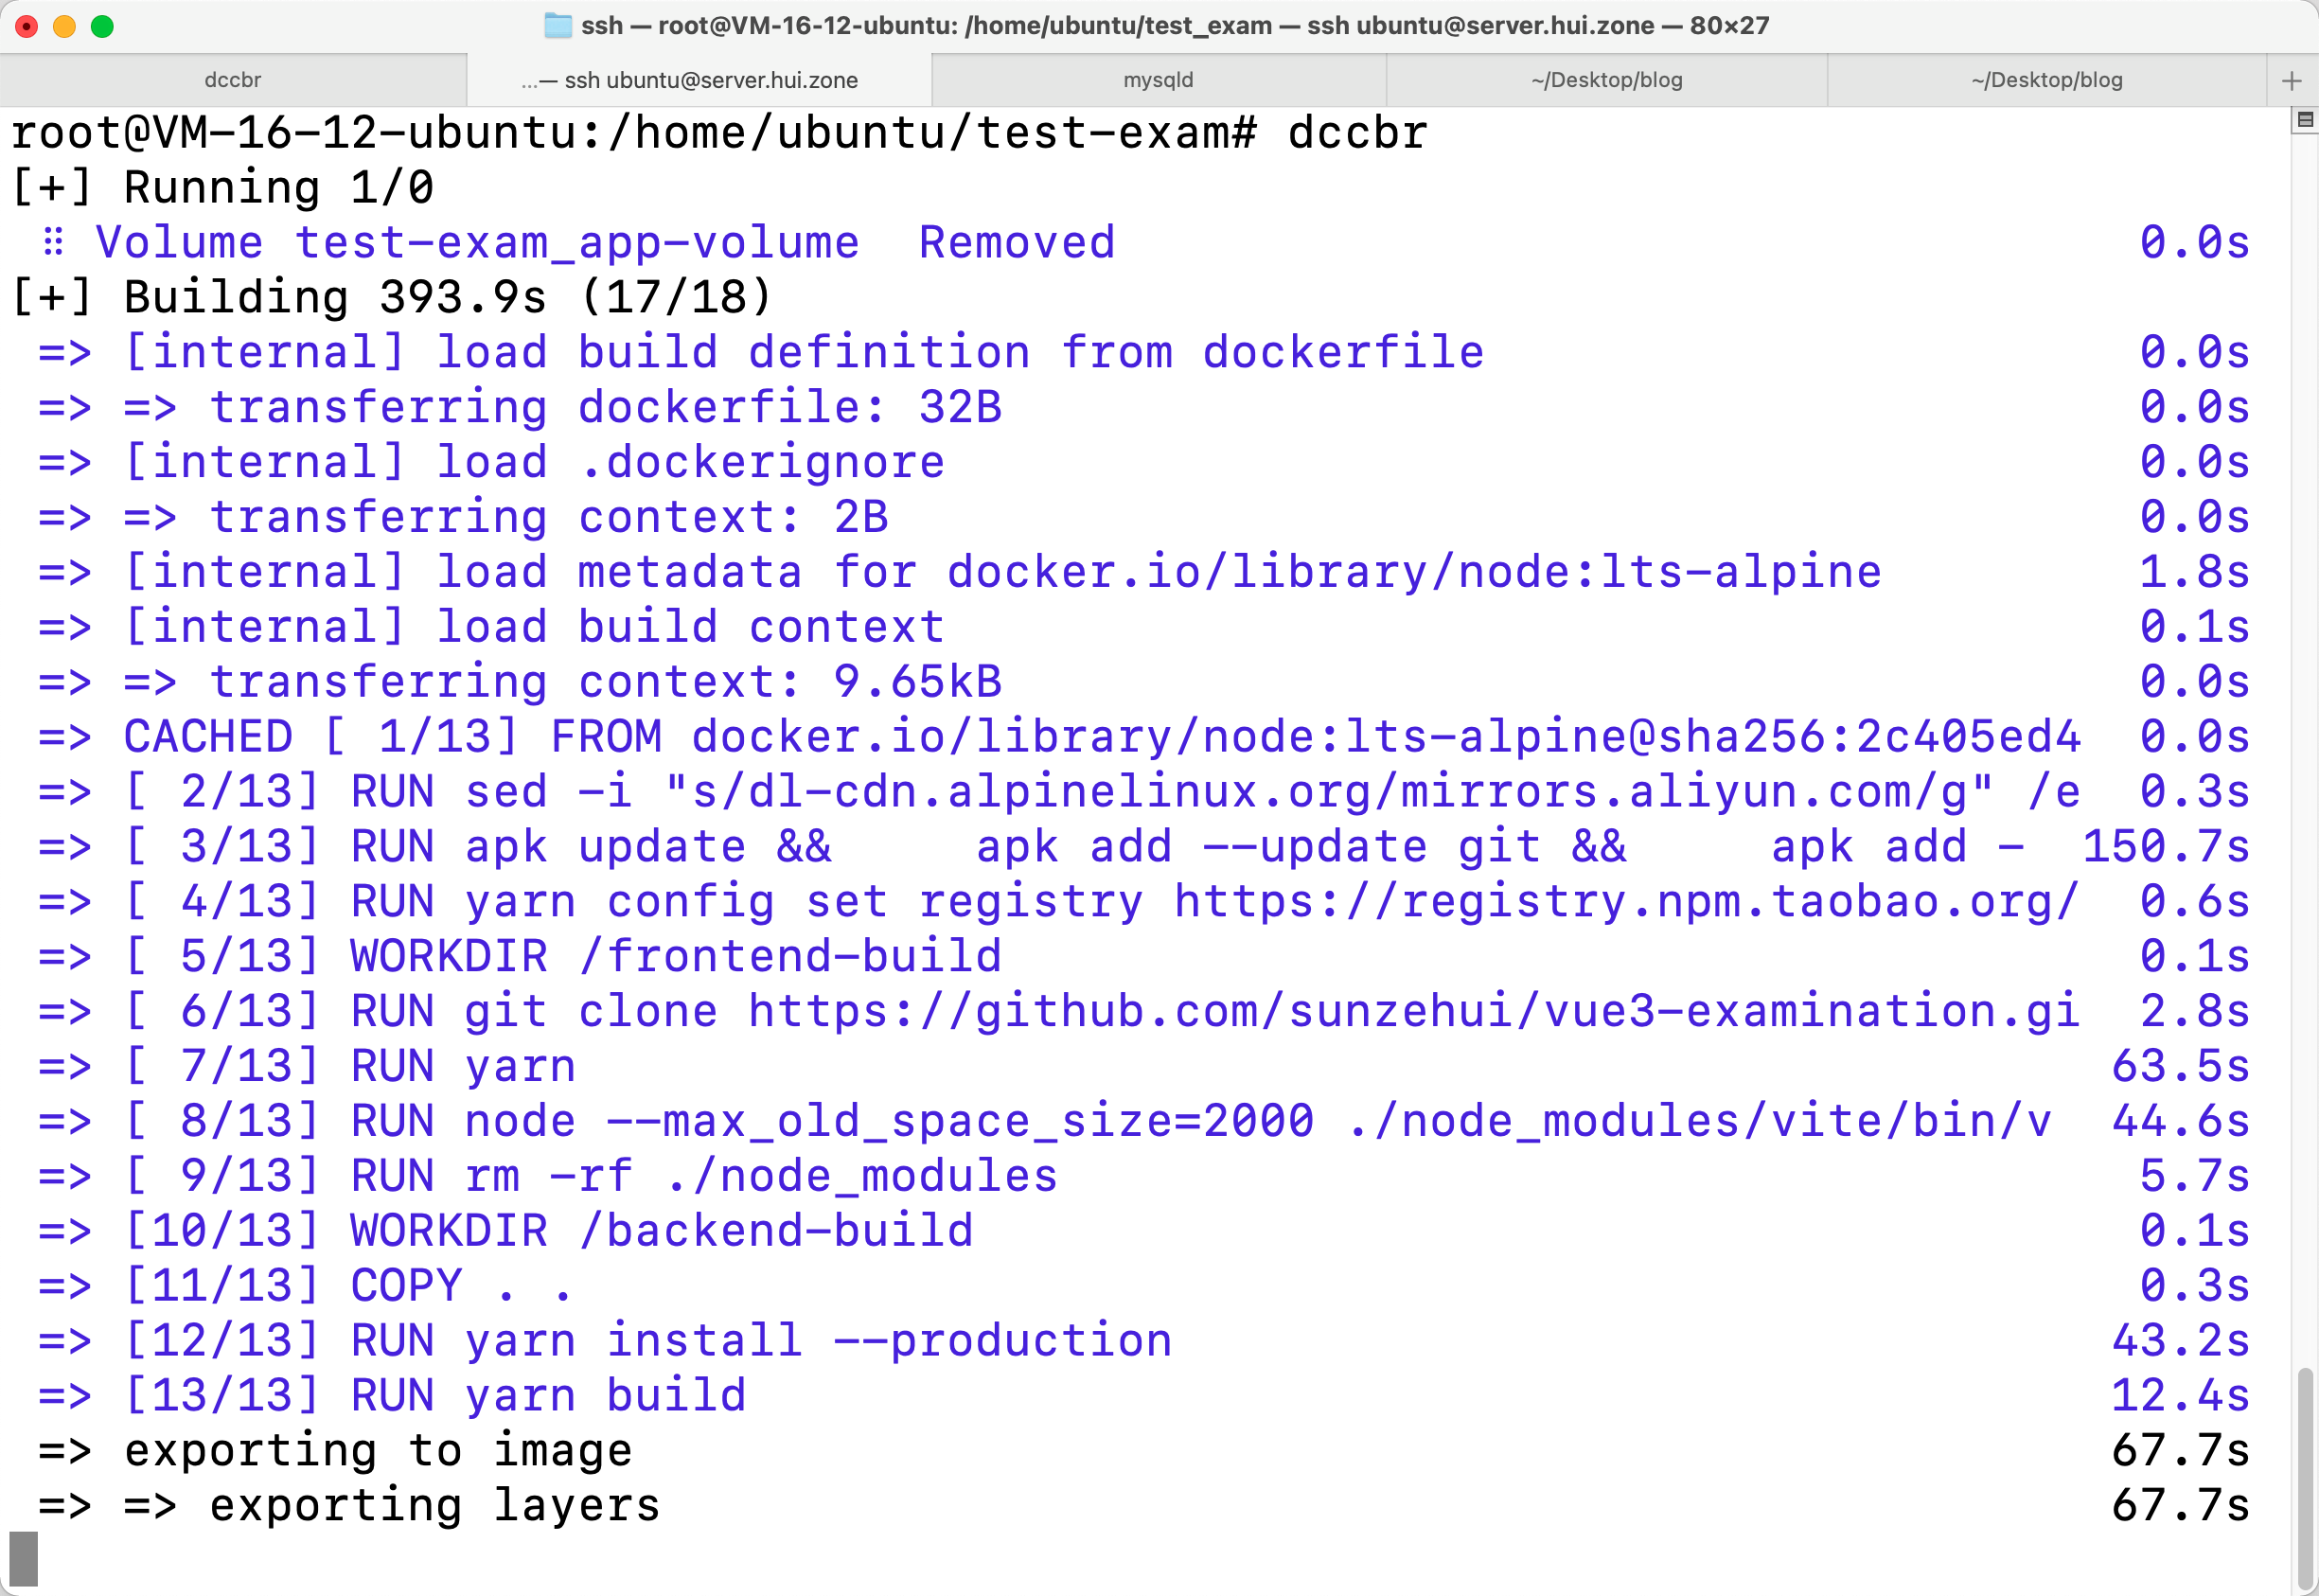
进入项目根目录,直接一行命令
第一次运行要先编译出来镜像
![image-20220830082907519 image]()
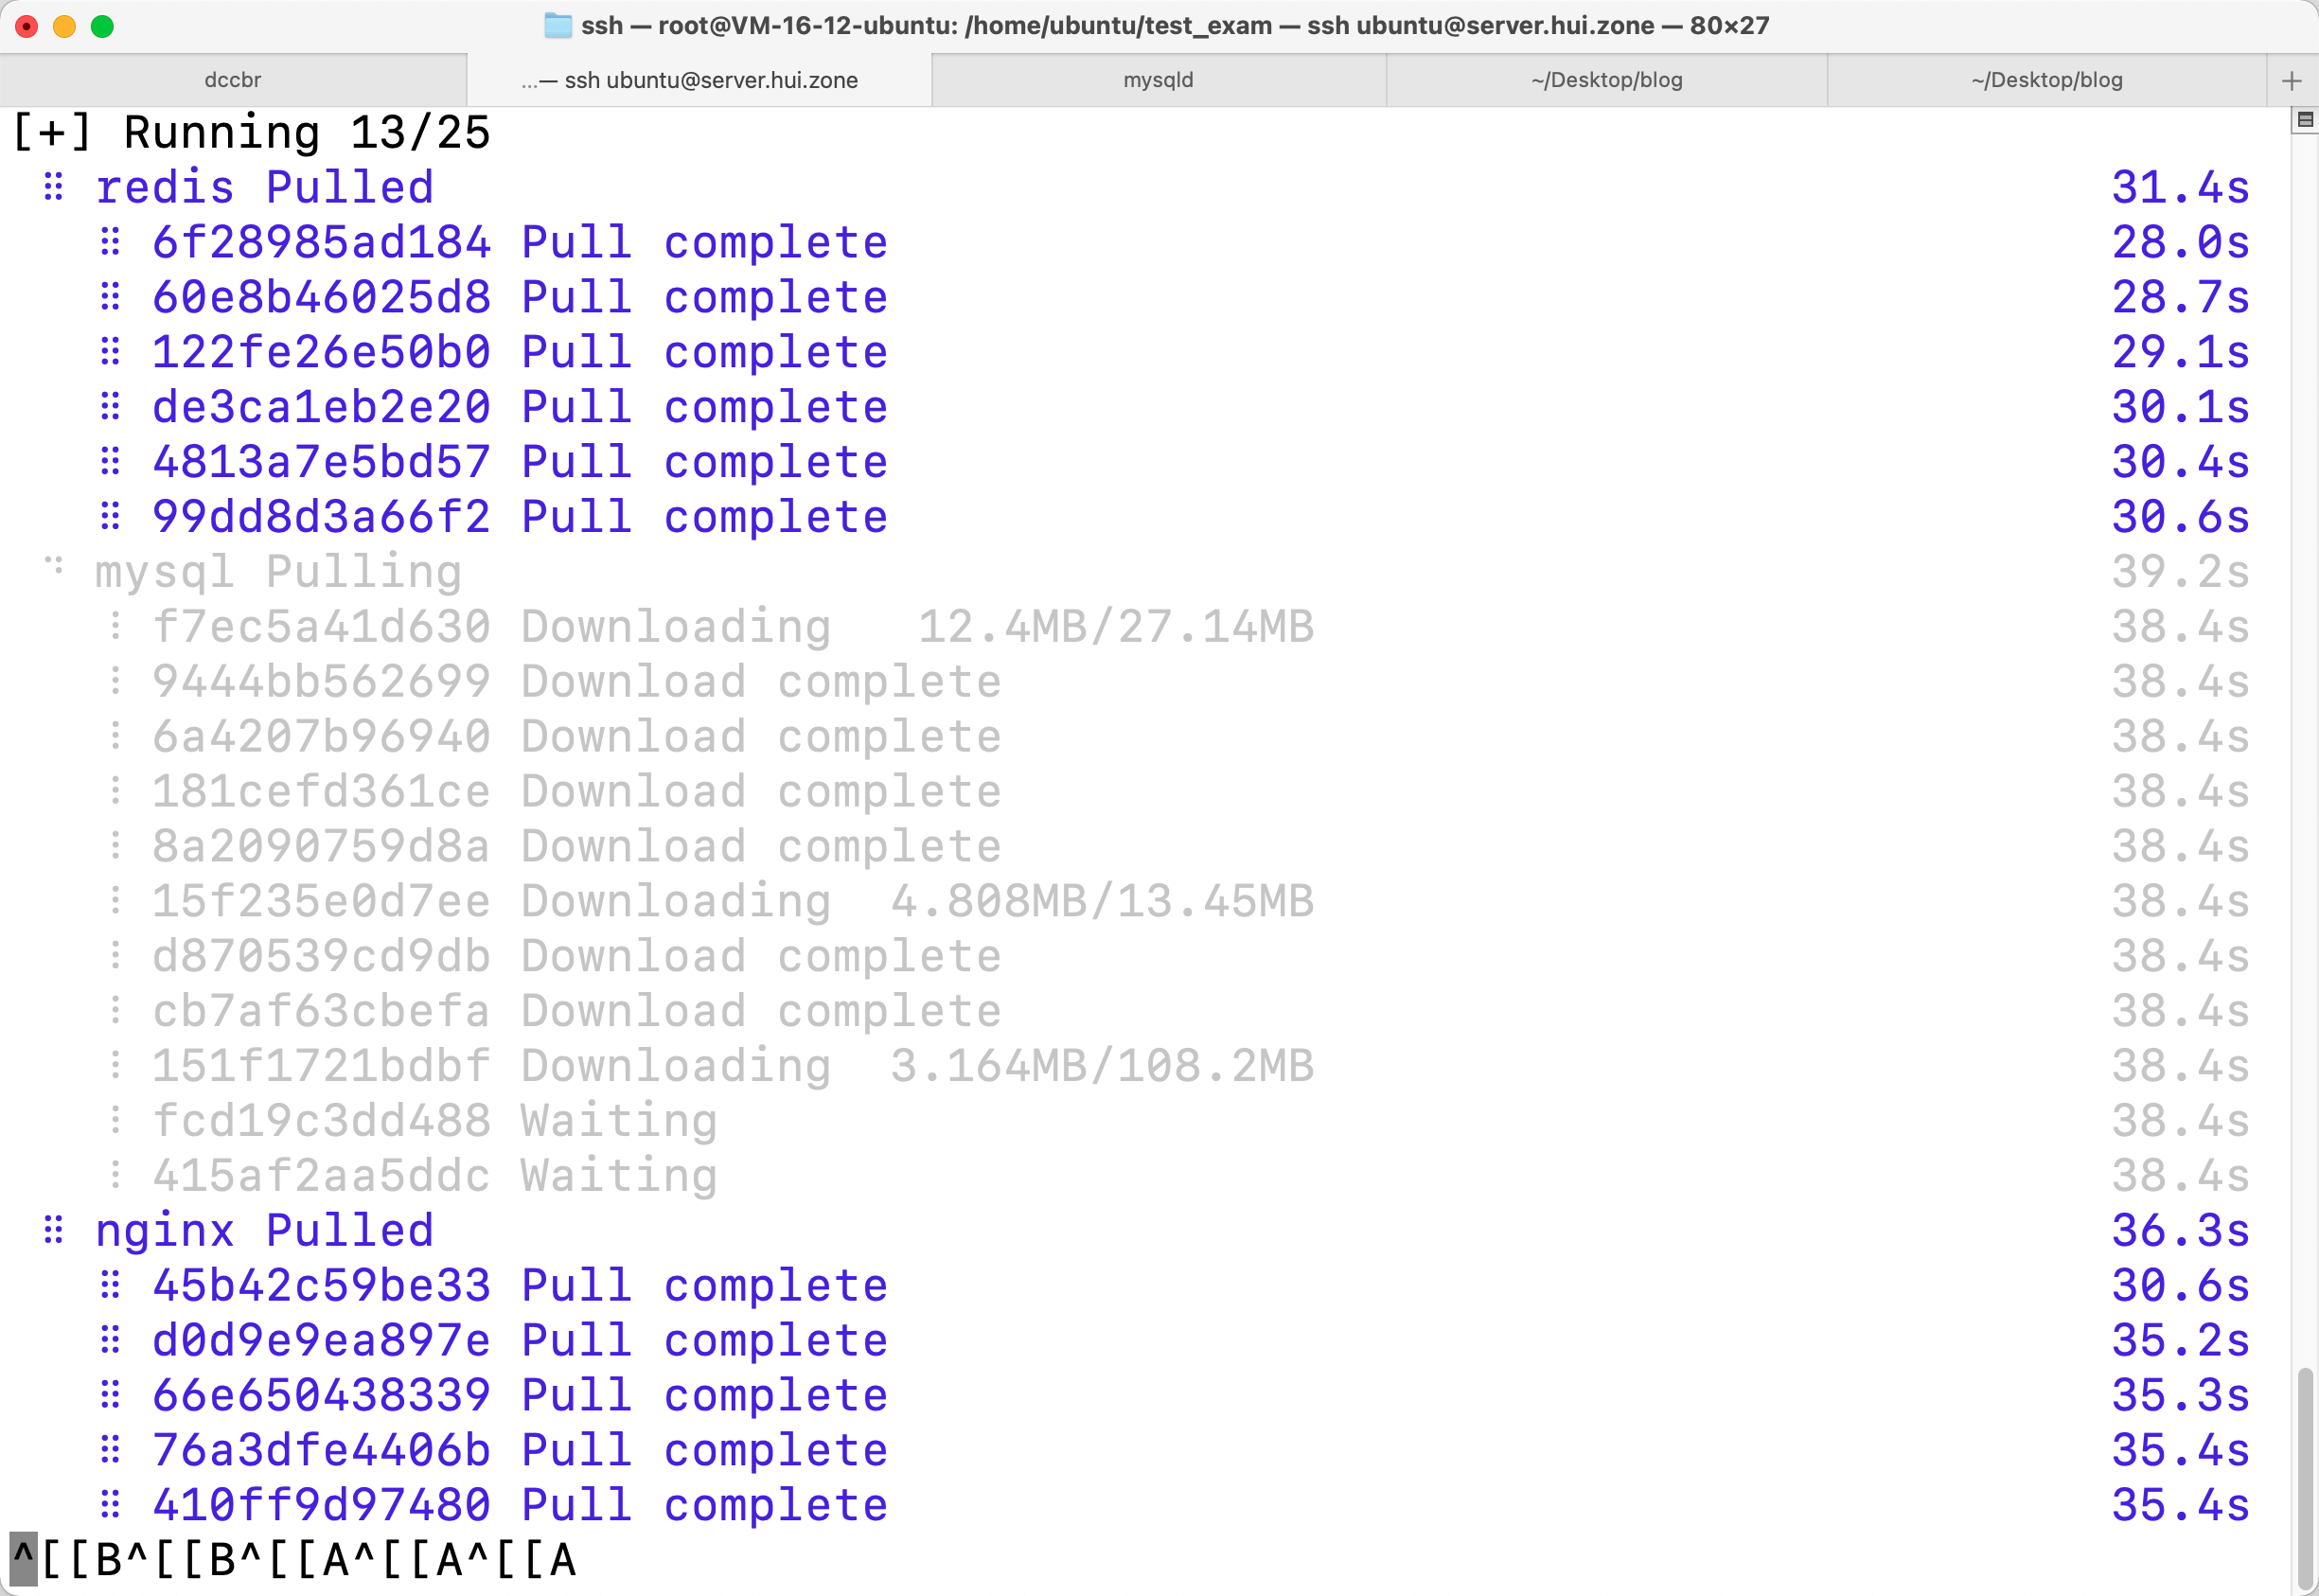
这是其他依赖已经构建好的镜像,需要下载
![image-20220830083020008 image]()
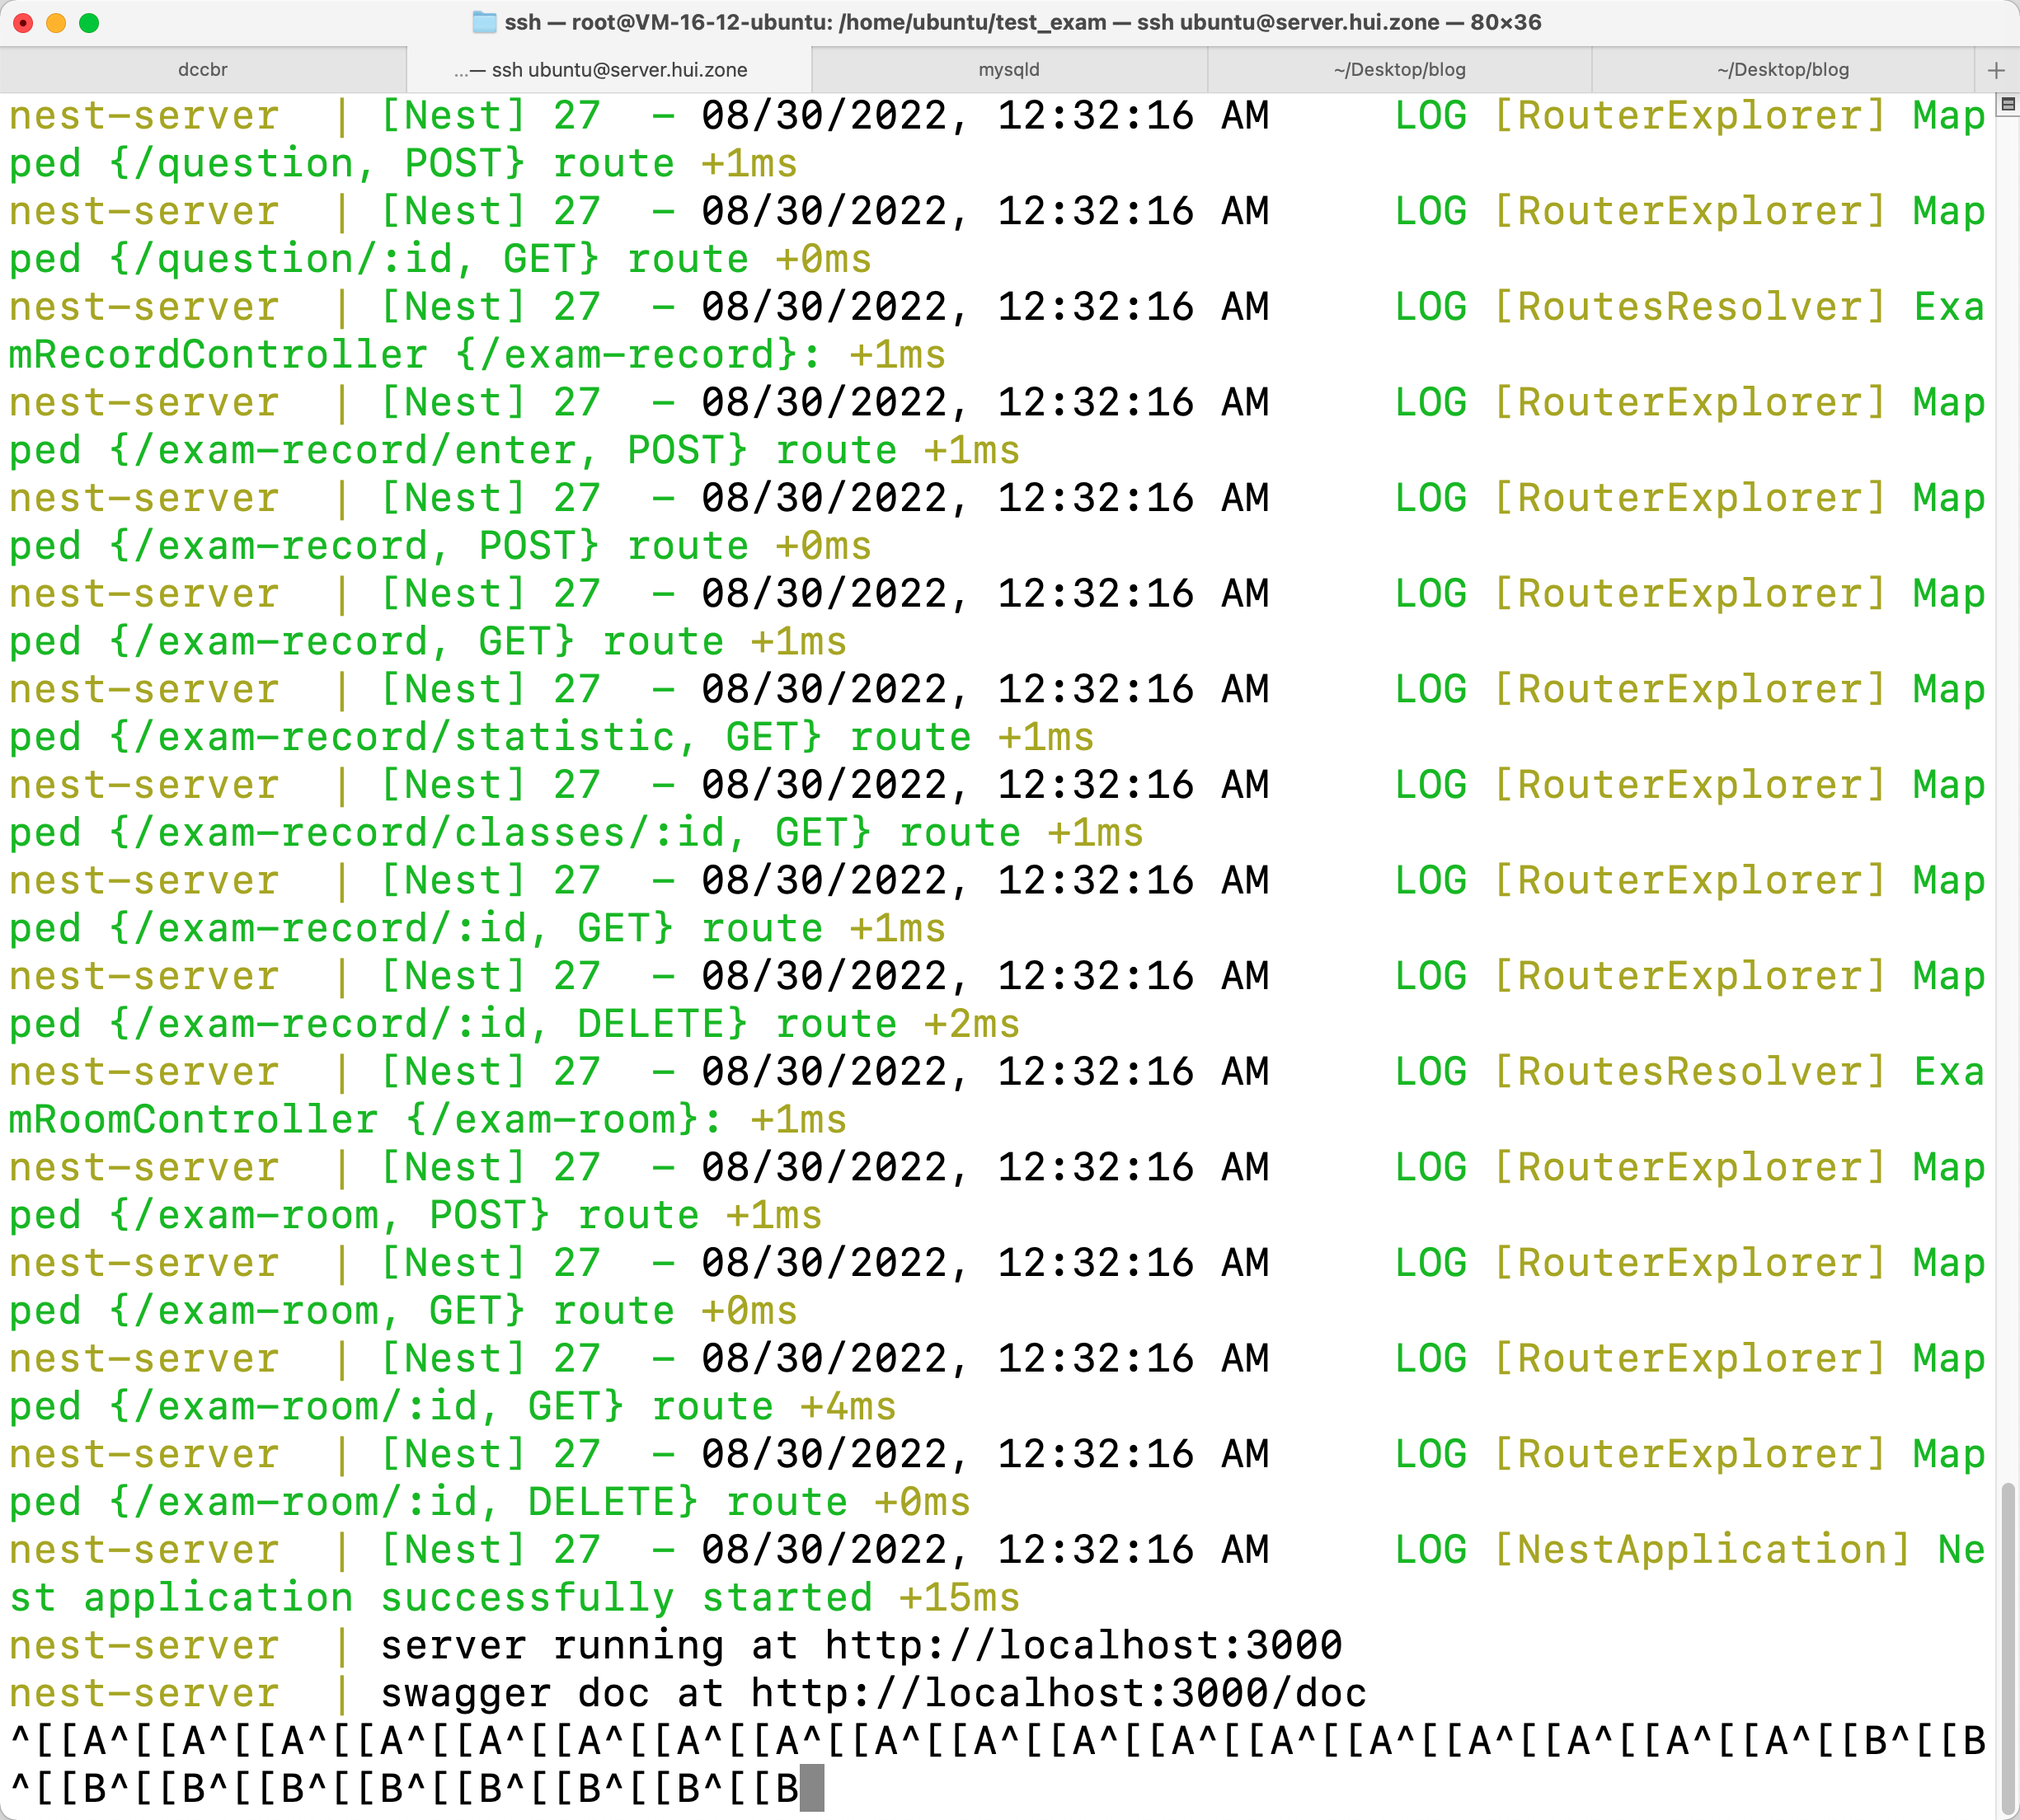
然后就启动成功了
![image-20220830083226144 image]()
排错经历
修改代码文件重新启动无效
重新启动是走的已经编译好的镜像,如果要想更改生效,需要重新编译镜像
1
| docker-compose build --no-cache
|
修改nginx配置文件重新编译启动无效
这个配置文件是宿主机与容器之间共享的,需要将共享卷删掉再编译
为了方便吧,总之一句话
1
| alias dccbr='docker-compose down -v && docker-compose build --no-cache && docker-compose up'
|
前端打包失败,原因是未安装vite
构建前端的时候不能yarn install --production,而应该全部安装,包括devDependencies
后端数据库sql_mode问题
自带sql_mode中有一条:only_full_group_by,要删掉,需要永久更改sql_mode,所以指定配置文件
多个容器间互相通信
因为两个容器是互相隔离的。
本来的想法是mysql开放端口xxxx到宿主机,然后nest-server连接宿主机的ip,并且端口填mysql共享给宿主机的端口。
后来了解到docker有一套机制,host直接填compose中的service名就可以了
闲扯
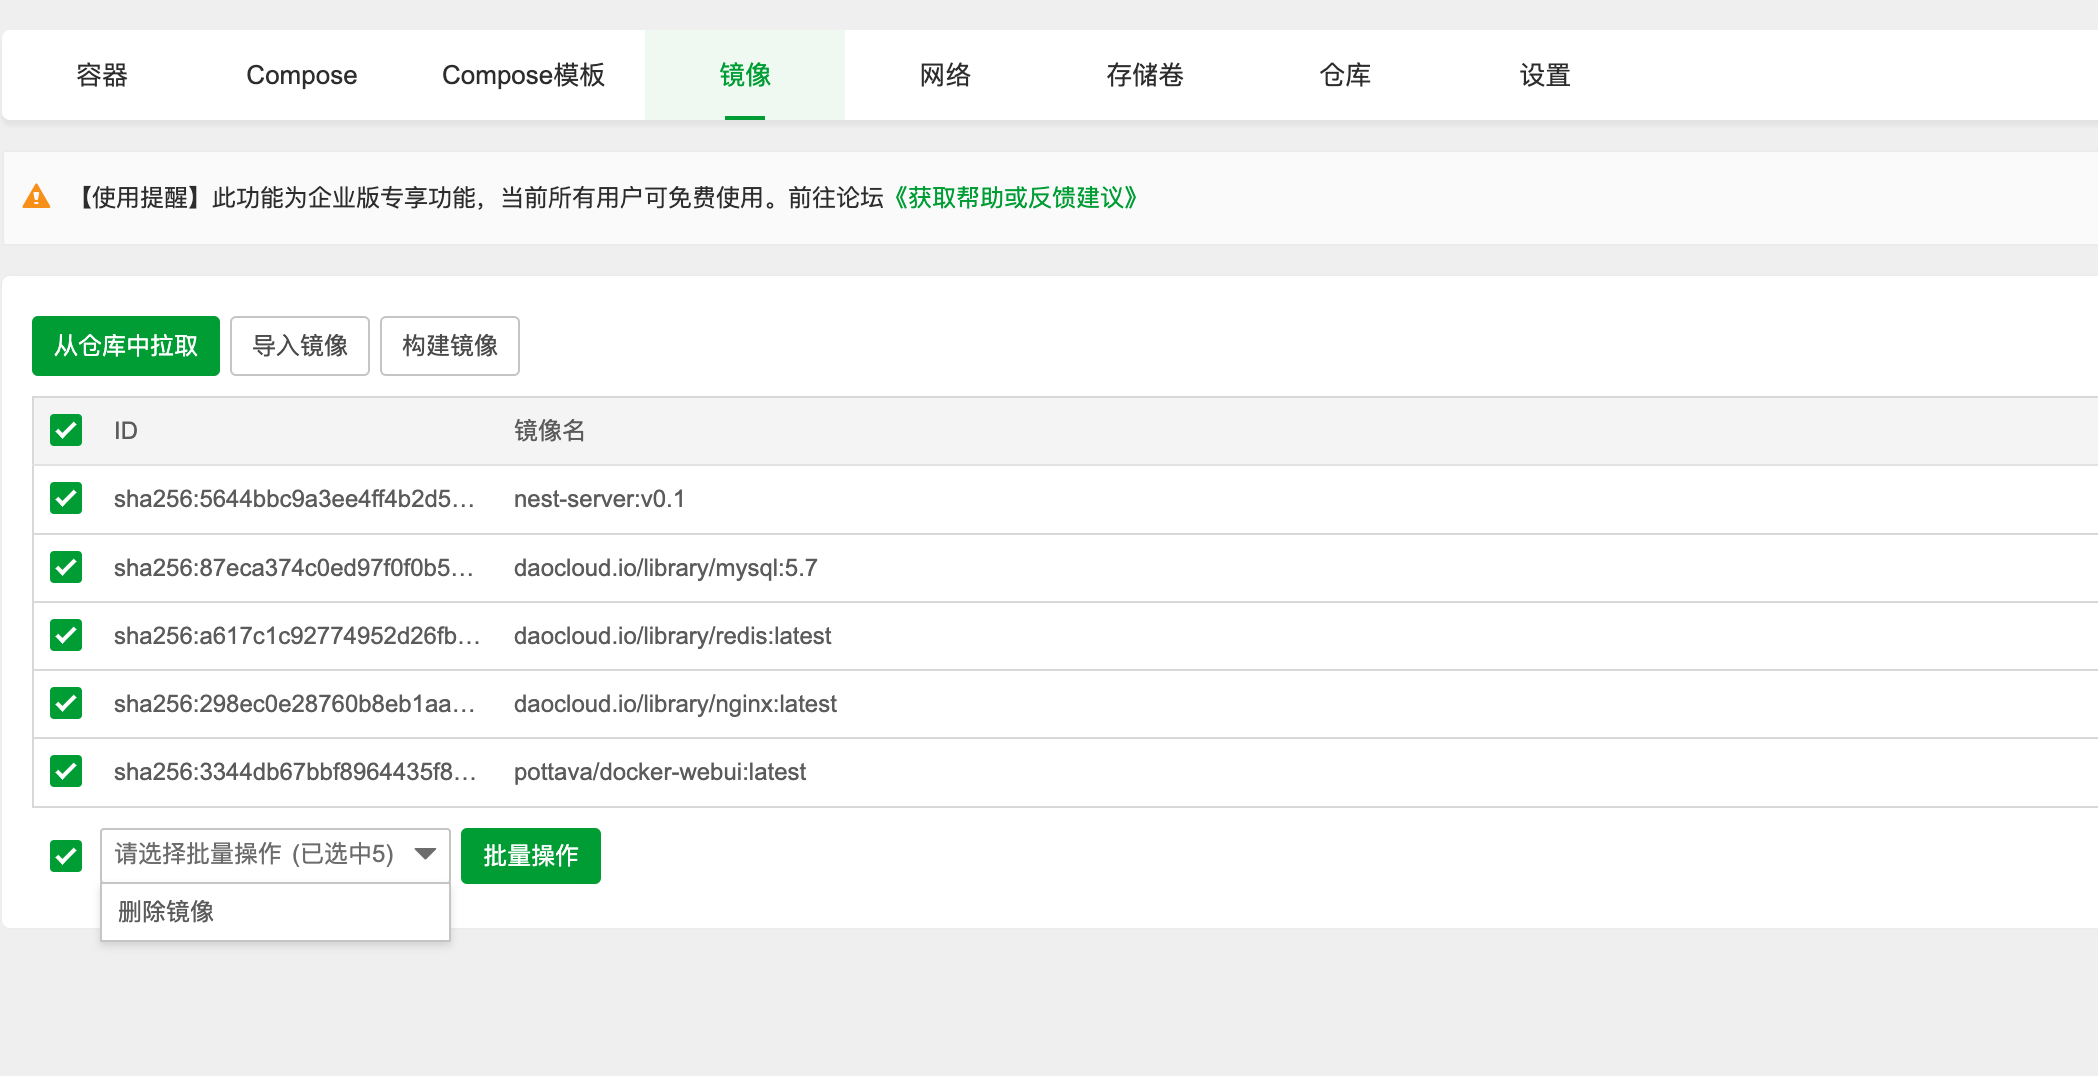
删除镜像太麻烦了,今天更新宝塔面板的时候,发现支持docker可视化了,能全选删除,还挺方便的。
![image-20220830092347802 image]()
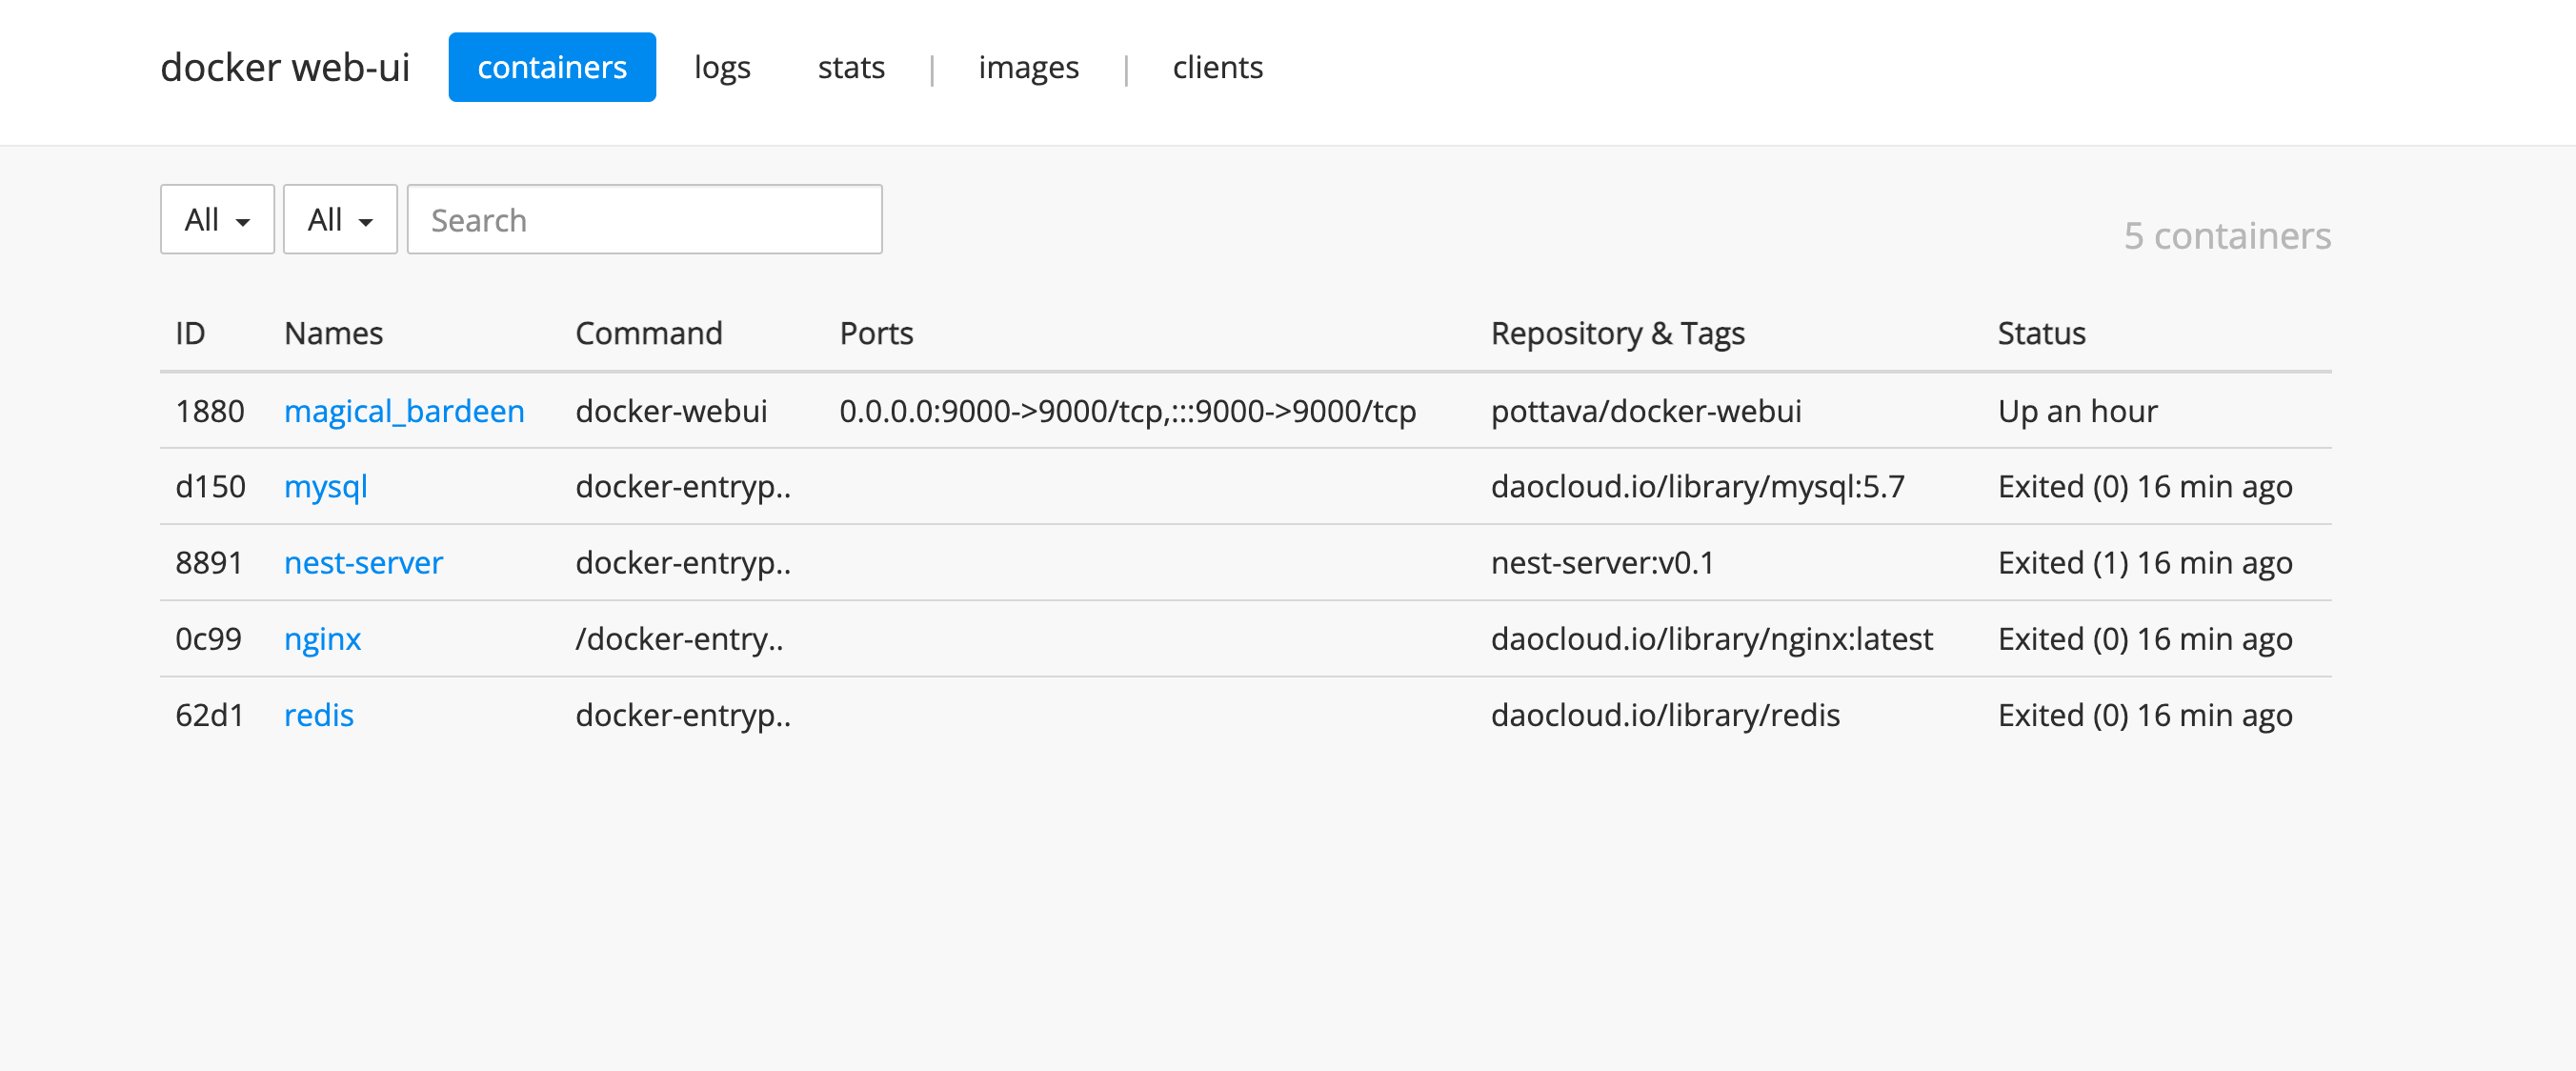
不过上面写了企业版专享功能,以后就收费了吧,装了个其他的,界面还不错。
![image-20220830092555310 image]()
安装方法:
1
2
| docker pull pottava/docker-webui
docker run -p 9000:9000 --rm -v /var/run/docker.sock:/var/run/docker.sock pottava/docker-webui
|
